DP Staff Documents
Accessing and Using Documents on GDPRiS
Documents
The Documents area provides you with a filing system for storing your GDPR related documentation.
The following file types are acceptable:
doc, rtf, docx, msg, xlsx, pdf, xls, ppt, odp, odt, pptx, ppsx, xlsx, jpg, png, tif, mp4, txt
Within this area you have the facility to create a directory structure.
Folders can be created within your organisation folder e.g., Policies, Training, Reports.
A Trust level folder is available to share documents across all the schools within a Trust.
The Documents area will make up part of the evidence that you are complying with GDPR. Under GDPR it is a requirement to demonstrate that all staff have undertaken Data Protection training. You can also access our free GDPRiS resources here.
Navigate to the Documents area via the Documents and Training area on the Navigation Pane.
In the Documents section you will be able to create a directory structure of your choosing. This directory can be used to store various file types and to collate your GDPR compliance documents, training documents etc.
When you first come to the Documents section, it will be empty. The top-level school folder highlighted in the screen shot below is where you can start to create your folder structure and upload files.
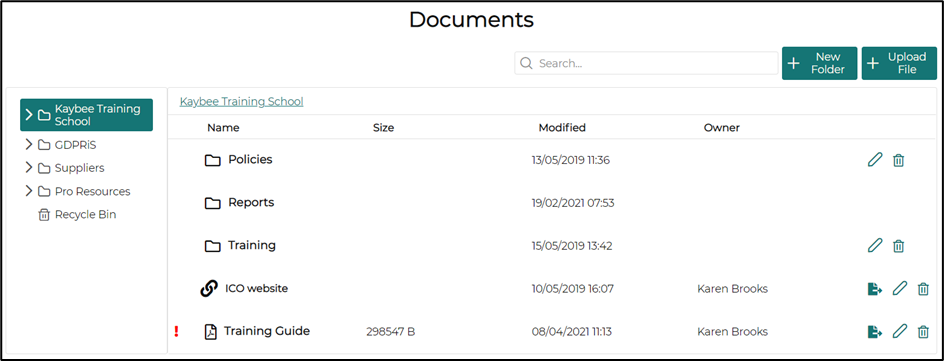
GDPRiS Folder
This folder contains various GDPR resources which you can use to help your school improve its understanding and compliance in data protection.

Note: Files found within the GDPRiS folder are downloadable but are not editable.
Suppliers Folder
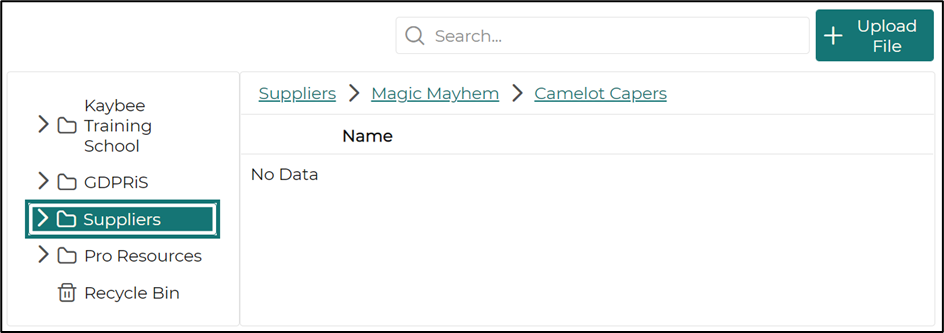
Upload a File to a Supplier
Documents relating to a specific supplier i.e. a Data Sharing Agreement or a DPIA can be uploaded to that supplier on the Documents and Training page of the portal.
Navigate to the Suppliers folder in Documents and Training.
Open the folder you wish to add a file to.
Click ‘Upload File’.
Browse for the file to be uploaded using Choose or the Drag and Drop method.
Fill in any details necessary.
Choosing Restrict Access will mean only DP staff on the site will have access to the file
SAVE.
Pro Resources Folder
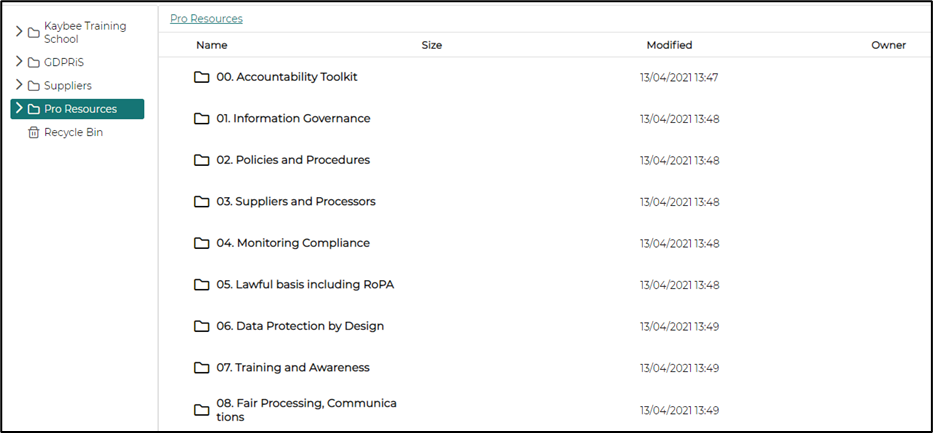
GDPRiS Pro subscribers will find in this service everything a developing DPO needs to become compliant on the compliance pathway. Not only are there a wealth of bespoke and unique resources but also a unique tool to produce a Data Protection Impact Assessment simply and effectively for all processing activities.
Our resources are available to guide you through Data Information Governance to ensure your organisation responds to its duties to keep personal data safe.
Your Information Governance team will be provided with a management process of accountability and responsibility from the board down, to ensure data protection compliance.
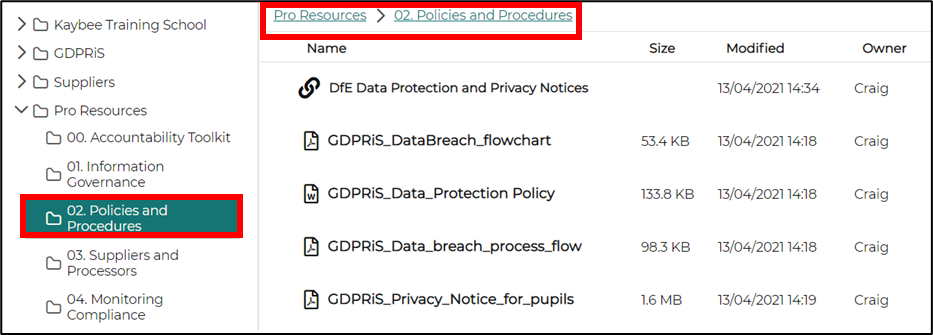
We provide example Policies and Procedures to support and direct you in records management, information security and data sharing. In addition, you will find documentation for Suppliers and Processors which links to the data maps in the GDPRiS software.
Data Protection is not a ‘one-off’ event. The GDPRiS Support Team will be on hand to prompt GDPRiS Pro customers only, to ensure they continue to monitor and review compliance and the effectiveness of data handling and security controls.
Your Record of Processing Activity, RoPA will be an integrated part of our activities. GDPRiS Pro users will have available templates for evidence recording against specific individuals or groups.
Data Protection by Design is at the heart of all we offer and promote. We will show you processes for Data minimisation, Pseudonymisation, Transparency and IAs/DPIAs. Our DPIA tool is unique in the Data Protection services market. We will help you understand how important it is to carry out these reviews which will result in you producing professional documentation linked directly to the way you process data.
Without doubt Training and Awareness of Data Protection principles are key to a successful and sustainable data safe environment. GDPRiS Pro users will have access to a needs-based training programme for all staff covering induction, refresher and specialist training, review and KPIs.
You must make sure that all your data subjects, and their carers, are fully informed of their rights and how they can ask for more details. Fair Processing and effective Communications evolves through clear communications for individuals about the processing and sharing of their personal data.
You will find some smart templates to help with Risk Assessments with guidance on which areas to prioritise. GDPRiS Pro customers will be reminded at all times of the need to fulfil an individual’s rights of data processing with clarity, safely and within the law. Data Quality and its Retention will ensure that data processed is accurate and retained for no longer than is necessary.
Information Security is key, and we offer GDPRiS Pro customers pointers to appropriate security measures for data which is received, stored, processed, or transmitted.
We are here to help with Subject Requests Disclosures. We will advise on procedures to respond to subject requests or ad hoc 3rd party requests including documents of information sharing procedures and decisions.
GDPRiS Pro Folder Structure
Create a New Folder
To create a new folder, make sure you are in the relevant folder where you want the folder to be located.
Click New Folder.

Add a folder name.
By marking the document with “Restrict Access”, this means that only the users with the School DP Staff role will be able to see the folder.
Click SAVE when you are finished making changes.
If your school is a Trust/MAT/LA/Academy etc, you can put a tick in the box for “Do not share with schools” so that the folder will only be visible in your top-level organisation and not your associated schools.
Note: Folders currently cannot be moved.
Upload a File to a Folder
To upload a file, make sure you are in the relevant folder where you want the file to be located.
Click Choose or use the Drag and Drop method.
Browse for the relevant file or add a website URL.
Change the name of the file if you want it to be listed as something different to its original name.
By marking the document with “Restrict Access”, this means that only the users with the School DP Staff role will be able to see the document.
Put a tick in the “Require Acknowledgement” box if you need to track that your staff have read and understood a document.
Click SAVE once you are happy with all the changes.

When someone uploads a document with “Require Acknowledgement” selected, they will see one of the following icons appear next to it.
The exclamation mark is an indication that there is a new document for users to read and mark that they have read and understood said document.
A red box will appear meaning that users have downloaded the document and it is for them to click on this red box to acknowledge that they have read the document.
A green ticked box indicates that the user has downloaded said document and that they have read and understood the contents of said document.
Note: The user who uploads a document will not see the yellow exclamation mark, they will immediately see the red box. This is because, as they are the user who uploaded the document, they will not be required to confirm that they have read it.
Moving Files
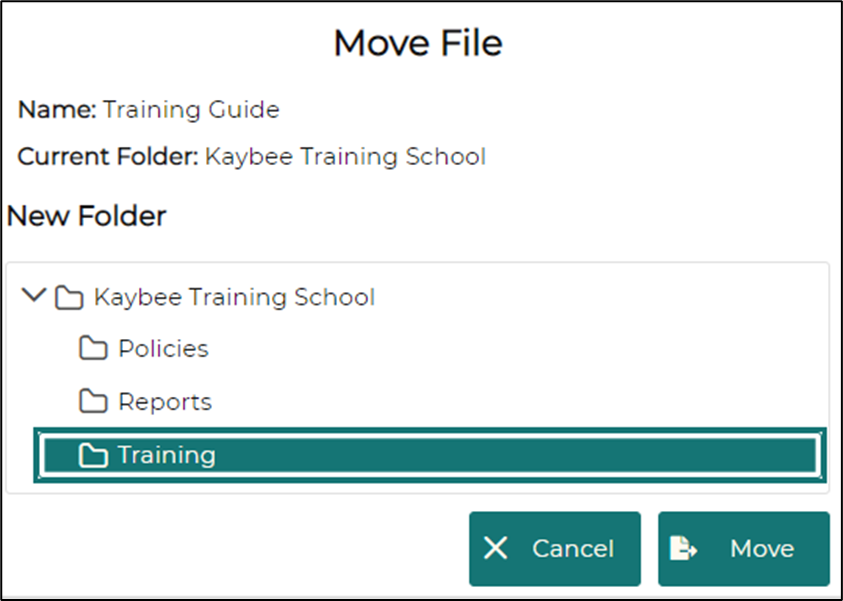
User can move files via the Move icon on the right-hand side of the file

Select the folder which you would like to move the file to and then click MOVE.
Delete a Folder
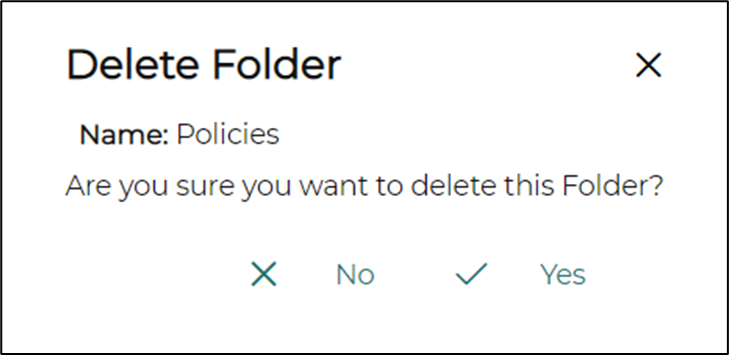
If a folder is empty, it can be deleted using the Delete icon.
Once the Delete icon is clicked you will see a warning pop-up.
Click Yes on the popup window.
Note: If the folder contains files these need to be deleted before the folder can be deleted.
Deleting Files
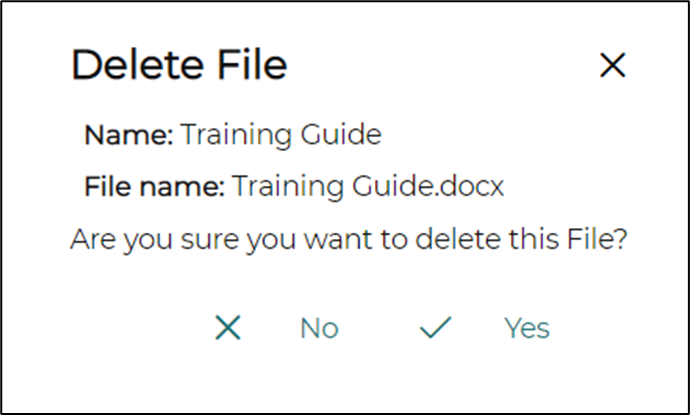
Files can be deleted using the Delete icon.
Once the Delete icon is clicked you will see a warning pop-up.
Click Yes to delete the file.
Recycle Bin
Deleted files will go into the recycle bin.
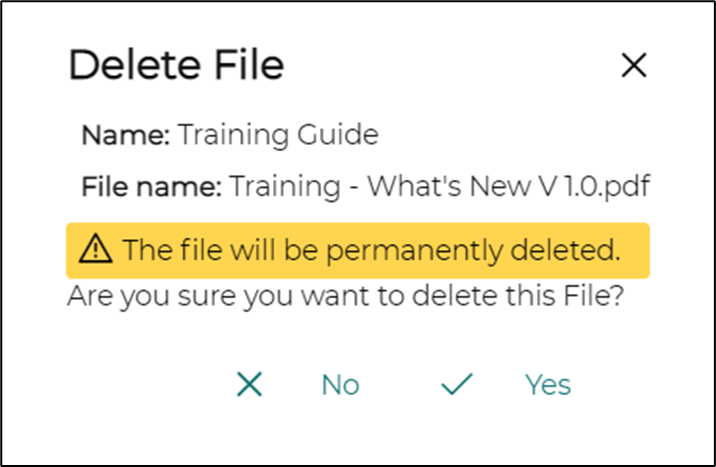
Files can be deleted from the recycle bin using the Delete icon.
Once the Delete icon is clicked you will see a warning pop-up.
Click Yes to permanently and irrecoverably erase the file.
Restore Deleted Files
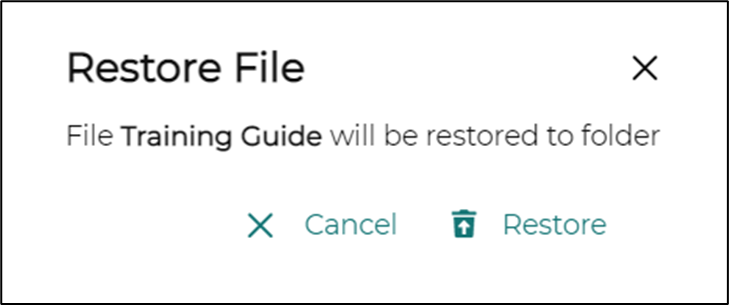
Files can be restored from the recycle bin using the Restore icon.
Click Restore to restore the file.
User Guides: DP Staff Documents